Recently I have been searching to convert my images to Webp. But I found that the most popular WebP converter websites were not fully free versions. They are giving let’s say 5 or 10 images to convert to WebP for free and then they will ask to buy their paid version to convert unlimited images. Therefore after some research, I built the flask app to convert my PNG or any other format images into WebP format. So here I provided that app here.
Python files to Convert PNG to WebP:
So to convert to WebP format, you will need PIL and flask Libraries. First convert_webp.py file. In that python file, there is a code to convert the image to a WebP formatted image.
from PIL import Image
import PIL
import os


def covert_to_webp(path):
    files=os.listdir(path)
    if not os.path.isdir('Coverted_Images'):
        os.makedirs("Coverted_Images")
    for file in files:
        im=Image.open(path+r"\{}".format(file)).convert("RGB")
        im.save("Coverted_Images\\{}.webp".format(file),"webp")
First, the python file will convert all images in the provided folder into RGB format. And then image will covert into WebP format and will save into the Converted_Images folder.
Now here comes the app.py which is a flask app.
from flask import Flask,render_template,request
import convert_webp
import webbrowser

app=Flask(__name__)
@app.route("/")
def hello():
    return render_template("index.html")

@app.route("/submit",methods=["POST"])
def submit():
    path=request.form["path"]
    convert_webp.covert_to_webp(r"{}".format(path))
    return render_template("done.html")

def open_browser():
    webbrowser.open_new('http://127.0.0.1:5000/')

if __name__ == "__main__":
    open_browser()
    app.run(port=5000)
I have extra added the open_webbrowser() function in the flask app. This function will open your default browser whenever you will run the app.py file.
Templates files for Flask app:
Here are two templates that I used for this flask app. The first is index.html and the second is done.html. Added CSS for simple styling.
<!DOCTYPE html>
<html>
  <head>
    <title>Webp Converter</title>
    <link href="https://fonts.googleapis.com/css?family=Roboto:300,400,500,700" rel="stylesheet">
    <script src="https://kit.fontawesome.com/2ccccfa746.js" crossorigin="anonymous"></script>
    <style>
      html, body {
      display: flex;
      justify-content: center;
      height: 100%;
      }
      body, div, h1, form, input, p {
      padding: 0;
      margin: 0;
      outline: none;
      font-family: Roboto, Arial, sans-serif;
      font-size: 16px;
      color: #666;
      }
      body{
        background-color:rgb(90, 77, 202);
      }
      h1 {
      padding: 10px 0;
      font-size: 32px;
      font-weight: 300;
      text-align: center;
      }

      hr {
      color: #a9a9a9;
      opacity: 0.3;
      }

      .main-block {
      max-width: 340px;
      min-height: 460px;
      padding: 10px 0;
      margin: auto;
      border-radius: 5px;
      border: solid 1px #ccc;
      box-shadow: 1px 2px 5px rgba(0,0,0,.31);
      background: #ebebeb;
      }
      form {
      margin: 0 30px;
      }

      label#icon {
      margin: 0;
      border-radius: 5px 0 0 5px;
      }

      #icon {
      display: inline-block;
      padding: 9.3px 15px;
      box-shadow: 1px 2px 5px rgba(0,0,0,.09);
      background: #1c87c9;
      color: #fff;
      text-align: center;
      }
      .btn-block {
      margin-top: 10px;
      text-align: center;
      }
      button {
      width: 100%;
      padding: 10px 0;
      margin: 10px auto;
      border-radius: 5px;
      border: none;
      background: #1c87c9;
      font-size: 14px;
      font-weight: 600;
      color: #fff;
      }
      button:hover {
      background: #26a9e0;
      }
    </style>
  </head>
  <body>
    <div class="main-block">
      <h1>WebP Converter</h1>
      <form action="/submit" method="POST">
        <hr>

        <hr>

        <label id="icon" for="name"><i class="fa-solid fa-folder"></i></label>
        <input type="text" name="path" id="name" placeholder="Enter Path" required/>

        <hr>

        <hr>
        <div class="btn-block">
          <button type="submit" href="/">Submit</button>
        </div>
      </form>
    </div>
  </body>
</html>
<!DOCTYPE html>
<html>
<head>
<title> Webp Converter</title>
<style>
html, body {
display: flex;
justify-content: center;
height: 100%;
}
body, div, h1, form, input, p {
padding: 0;
margin: 0;
outline: none;
font-family: Roboto, Arial, sans-serif;
font-size: 16px;
color: #666;
}
body{
background-color:rgb(90, 77, 202);
}
h1 {
padding: 10px 0;
font-size: 32px;
font-weight: 300;
text-align: center;
}
.main-block {
max-width: 340px;
min-width: 400px;
padding: 10px 0;
margin: auto;
border-radius: 5px;
border: solid 1px #ccc;
box-shadow: 1px 2px 5px rgba(0,0,0,.31);
background: #ebebeb;
}
label#icon {
margin: 0;
border-radius: 5px 0 0 5px;
}
#icon {
display: inline-block;
padding: 9.3px 15px;
box-shadow: 1px 2px 5px rgba(0,0,0,.09);
background: #1c87c9;
color: #fff;
text-align: center;
}
</style>
</head>
<body>
<div class="main-block">
<h1>DONE!!</h1>
<h1>Go to Coverted_Images Folder</h1>
</div>
</body>
</html>Also Read: How to sort pandas DataFrame by month names
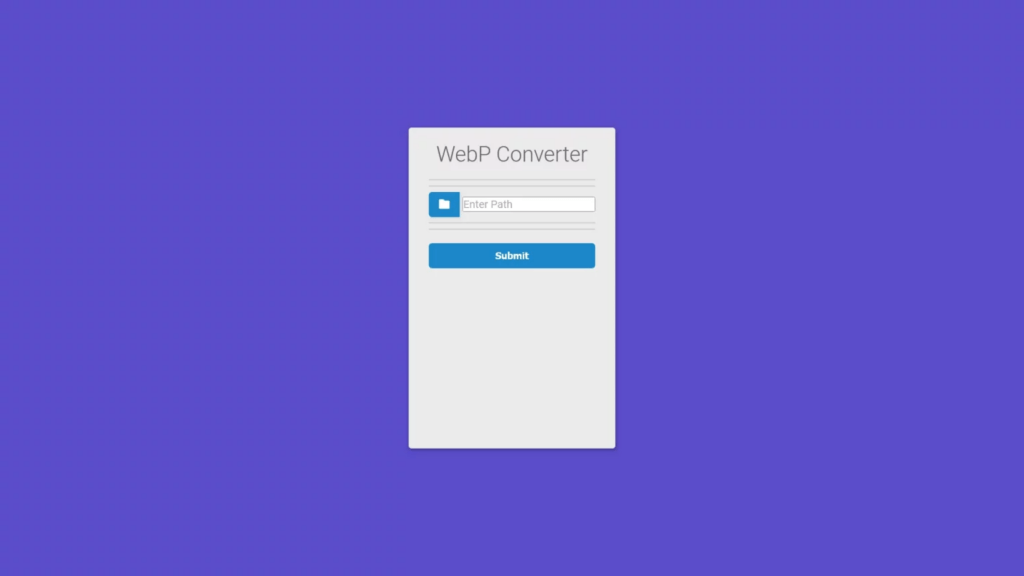
And that’s it. Now just run the app.py file and your default browser will automatically open with the URL(Because of the open_browser() function). Now you have to provide the path to the folder where you saved your JPG, PNG, or any other formatted images.
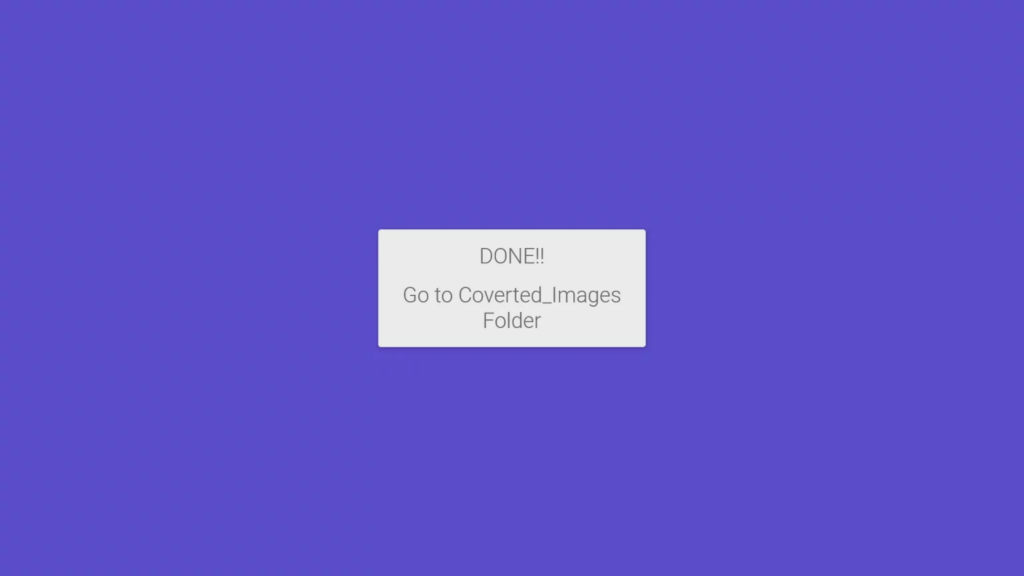
After when you click on submit, all images in the provided folder will convert into WebP and will save into the Converted_Images folder.
Source code of flask app convert images to WebP format
I have uploaded the full source code of this converter flask app on Github. Click Here.
If you are facing any issues then tell me about them in the comment.